Build a User Management App with SvelteKit
This tutorial demonstrates how to build a basic user management app. The app authenticates and identifies the user, stores their profile information in the database, and allows the user to log in, update their profile details, and upload a profile photo. The app uses:
- Supabase Database - a Postgres database for storing your user data and Row Level Security so data is protected and users can only access their own information.
- Supabase Auth - users log in through magic links sent to their email (without having to set up passwords).
- Supabase Storage - users can upload a profile photo.

If you get stuck while working through this guide, refer to the full example on GitHub.
Project setup
Before we start building we're going to set up our Database and API. This is as simple as starting a new Project in Supabase and then creating a "schema" inside the database.
Create a project
- Create a new project in the Supabase Dashboard.
- Enter your project details.
- Wait for the new database to launch.
Set up the database schema
Now we are going to set up the database schema. We can use the "User Management Starter" quickstart in the SQL Editor, or you can just copy/paste the SQL from below and run it yourself.
- Go to the SQL Editor page in the Dashboard.
- Click User Management Starter.
- Click Run.
You can easily pull the database schema down to your local project by running the db pull command. Read the local development docs for detailed instructions.
_10supabase link --project-ref <project-id>_10# You can get <project-id> from your project's dashboard URL: https://supabase.com/dashboard/project/<project-id>_10supabase db pull
Get the API Keys
Now that you've created some database tables, you are ready to insert data using the auto-generated API.
We just need to get the Project URL and anon key from the API settings.
- Go to the API Settings page in the Dashboard.
- Find your Project
URL,anon, andservice_rolekeys on this page.
Building the app
Let's start building the Svelte app from scratch.
Initialize a Svelte app
We can use the SvelteKit Skeleton Project to initialize an app called supabase-sveltekit (for this tutorial we will be using TypeScript):
_10npm create svelte@latest supabase-sveltekit_10cd supabase-sveltekit_10npm install
Then install the Supabase client library: supabase-js
_10npm install @supabase/supabase-js
And finally we want to save the environment variables in a .env.
All we need are the SUPABASE_URL and the SUPABASE_KEY key that you copied earlier.
Optionally, add src/styles.css with the CSS from the example.
Creating a Supabase client for SSR
The ssr package configures Supabase to use Cookies, which is required for server-side languages and frameworks.
Install the Supabase packages:
_10npm install @supabase/ssr @supabase/supabase-js
Creating a Supabase client with the ssr package automatically configures it to use Cookies. This means your user's session is available throughout the entire SvelteKit stack - page, layout, server, hooks.
Add the code below to your src/hooks.server.ts to initialize the client on the server:
Note that auth.getSession reads the auth token and the unencoded session data from the local storage medium. It doesn't send a request back to the Supabase Auth server unless the local session is expired.
You should never trust the unencoded session data if you're writing server code, since it could be tampered with by the sender. If you need verified, trustworthy user data, call auth.getUser instead, which always makes a request to the Auth server to fetch trusted data.
If you are using TypeScript the compiler might complain about event.locals.supabase and event.locals.safeGetSession, this can be fixed by updating your src/app.d.ts with the content below:
Create a new src/routes/+layout.server.ts file to handle the session on the server-side.
Start your dev server (npm run dev) in order to generate the ./$types files we are referencing in our project.
Create a new src/routes/+layout.ts file to handle the session and the supabase object on the client-side.
Update your src/routes/+layout.svelte:
Set up a login page
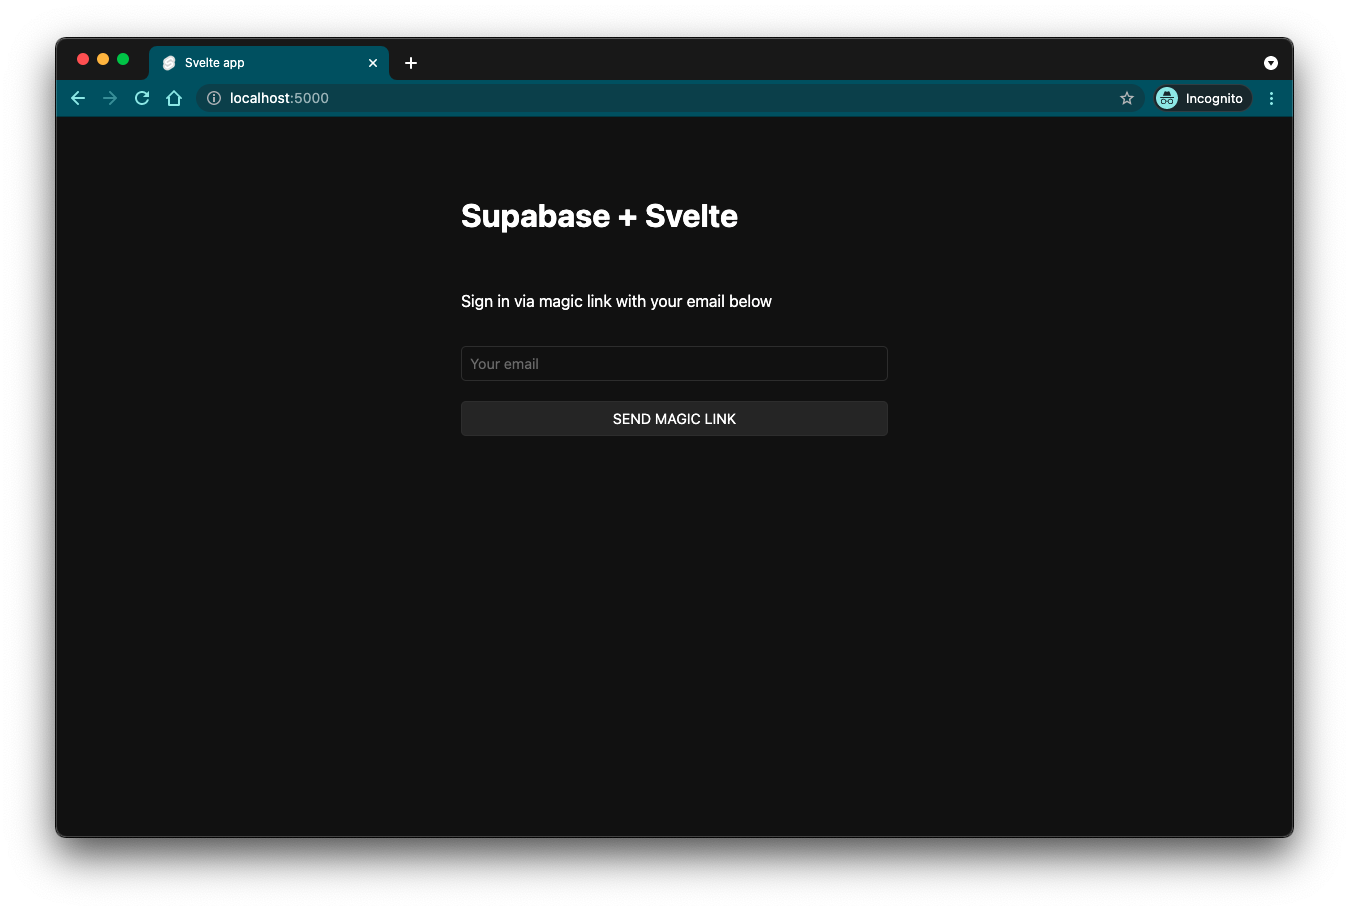
Create a magic link login/signup page for your application:
Create a src/routes/+page.server.ts file that will handle our magic link form when submitted.
Email template
Change the email template to support a server-side authentication flow.
Before we proceed, let's change the email template to support sending a token hash:
- Go to the Auth templates page in your dashboard.
- Select
Confirm signuptemplate. - Change
{{ .ConfirmationURL }}to{{ .SiteURL }}/auth/confirm?token_hash={{ .TokenHash }}&type=email. - Repeat the previous step for
Magic linktemplate.
Did you know? You could also customize emails sent out to new users, including the email's looks, content, and query parameters. Check out the settings of your project.
Confirmation endpoint
As we are working in a server-side rendering (SSR) environment, it is necessary to create a server endpoint responsible for exchanging the token_hash for a session.
In the following code snippet, we perform the following steps:
- Retrieve the
token_hashsent back from the Supabase Auth server using thetoken_hashquery parameter. - Exchange this
token_hashfor a session, which we store in storage (in this case, cookies). - Finally, the user is redirected to the
accountpage or theerrorpage.
Authentication error page
If there is an error with confirming the token you will be redirect to this error page.
Account page
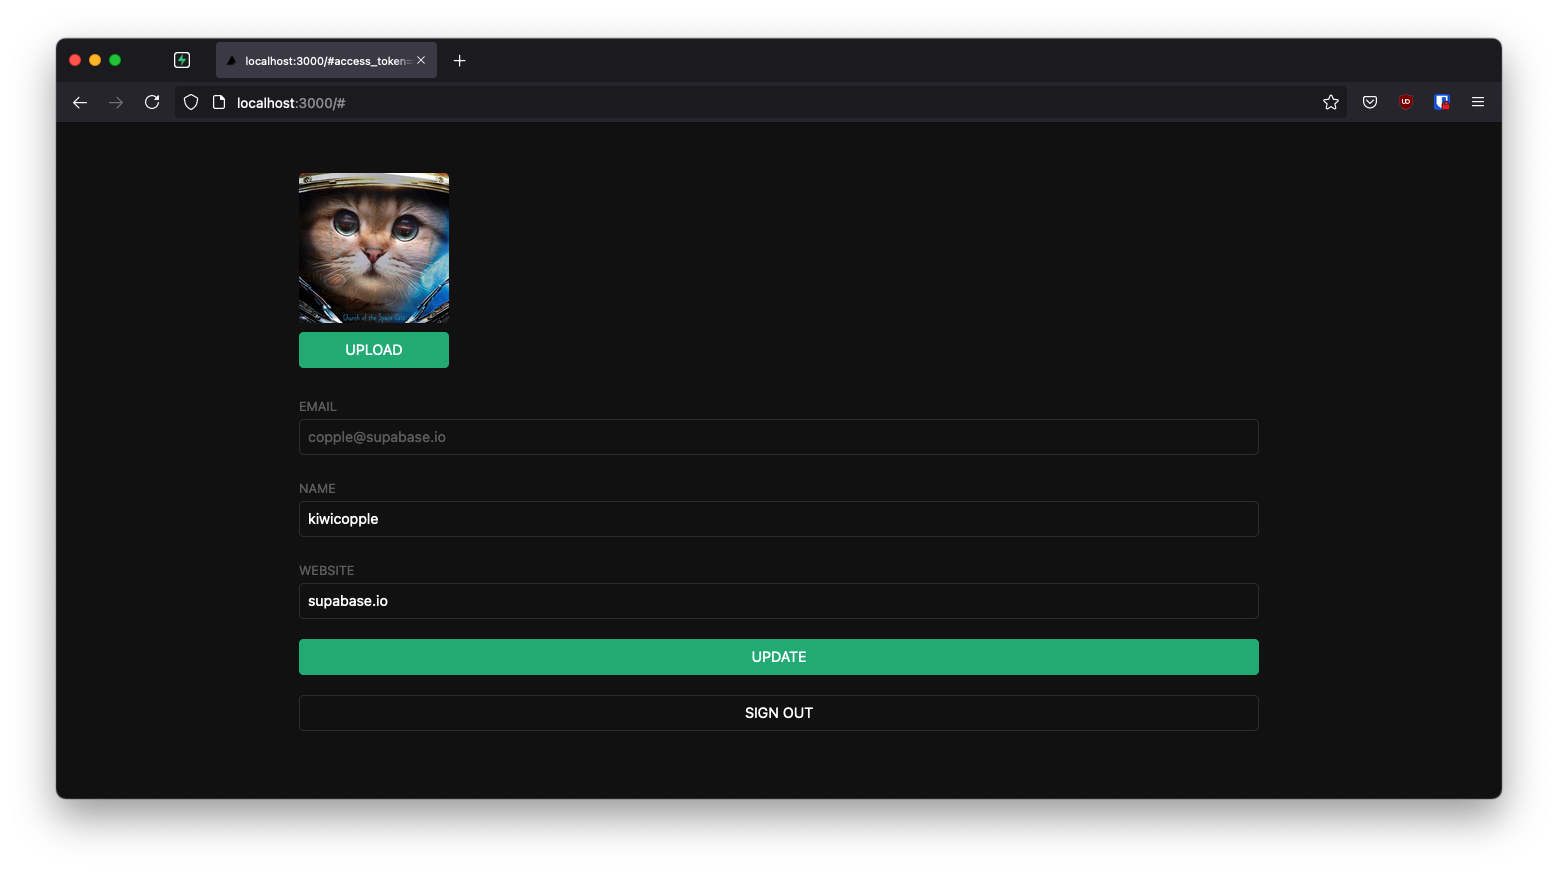
After a user is signed in, they need to be able to edit their profile details and manage their account.
Create a new src/routes/account/+page.svelte file with the content below.
Now create the associated src/routes/account/+page.server.ts file that will handle loading our data from the server through the load function
and handle all our form actions through the actions object.
_62import { fail, redirect } from '@sveltejs/kit'_62import type { Actions, PageServerLoad } from './$types'_62_62export const load: PageServerLoad = async ({ locals: { supabase, safeGetSession } }) => {_62 const { session } = await safeGetSession()_62_62 if (!session) {_62 redirect(303, '/')_62 }_62_62 const { data: profile } = await supabase_62 .from('profiles')_62 .select(`username, full_name, website, avatar_url`)_62 .eq('id', session.user.id)_62 .single()_62_62 return { session, profile }_62}_62_62export const actions: Actions = {_62 update: async ({ request, locals: { supabase, safeGetSession } }) => {_62 const formData = await request.formData()_62 const fullName = formData.get('fullName') as string_62 const username = formData.get('username') as string_62 const website = formData.get('website') as string_62 const avatarUrl = formData.get('avatarUrl') as string_62_62 const { session } = await safeGetSession()_62_62 const { error } = await supabase.from('profiles').upsert({_62 id: session?.user.id,_62 full_name: fullName,_62 username,_62 website,_62 avatar_url: avatarUrl,_62 updated_at: new Date(),_62 })_62_62 if (error) {_62 return fail(500, {_62 fullName,_62 username,_62 website,_62 avatarUrl,_62 })_62 }_62_62 return {_62 fullName,_62 username,_62 website,_62 avatarUrl,_62 }_62 },_62 signout: async ({ locals: { supabase, safeGetSession } }) => {_62 const { session } = await safeGetSession()_62 if (session) {_62 await supabase.auth.signOut()_62 redirect(303, '/')_62 }_62 },_62}
Launch!
Now that we have all the pages in place, run this in a terminal window:
_10npm run dev
And then open the browser to localhost:5173 and you should see the completed app.

Bonus: Profile photos
Every Supabase project is configured with Storage for managing large files like photos and videos.
Create an upload widget
Let's create an avatar for the user so that they can upload a profile photo. We can start by creating a new component called Avatar.svelte in the src/routes/account directory:
Add the new widget
And then we can add the widget to the Account page:
At this stage you have a fully functional application!